I'm a member of a small message board dedicated to motorsports enthusiasts. The topics of discussion generally pertain to racing and race cars, but there is the occasional discussion of food, particularly wherein there is room for tinkering with process or solving complex problems with home engineering. Any guy who enjoys working on a car is probably just as likely to enjoy trying to figure out how to soup up his smoker or duplicate a complex cooking process using common kitchen supplies. That's what this posting is all about.
This is a bit exciting as it's the first (and hopefully not the last) guest submission to this blog. Sean Correia and his lovely bride Sandra have sussed out a home engineered process for Sous-Vide cooking and at my request have provided the following submission for your enjoyment:
Ignoring the pretentiousness in the mere name itself - “Sous-Vide”, which sounds even more annoying if you say it with a French Accent, it is essentially cooking stuff in a plastic bag immersed in water. The exact translation is “under vacuum”, but seeing as though I am entirely too low brow to own a vacuum sealer I will be presenting this most excellent method of cooking meat using a much simpler method.
So what is it and why is it awesome? Ignoring once again the vacuum part, which I am under the impression would contribute very little to this particular recipe anyway, what we will essentially be doing is cooking the steaks in a ziploc bag in a water bath at a precise temperature. In less dense proteins such as fish, there is benefit to be gained in getting a marinade to more quickly penetrate the the flesh when using vacuum, but with a steak or roast the effect would be minimal at best.
The advantages are twofold towards achieving a steak of epic proportions;
- There is zero chance of overcooking.
- The steak will be cooked at your target temperature the entire way through. If you are a lover of meat cooked rare to medium-rare this will be of particular interest as even with the highest of cooking temperatures using ether a grill or skillet, even cooking is simply not possible.
One could certainly go out and purchase a vacuum bagging machine, bag material and a Sous-Vide machine but you are looking at a minimum of about $300 for the least expensive available Sous-Vide machine and at least double that figure for an offering from more reputable manufacturers not to mention an additional $100-$300 for the vacuum sealer and bags. That soaks up a lot of counter space...and cash...so to that we say BAH-HOOEY as we venture forth to figure this thing out on our own.
So, given the simple nature of what we are about to do there are a few details to sort out. First is finding a way of maintaining a pretty low temperature of 125F for 2 hours. If you have an oven that is accurate at this low a temperature, wonderful. If not you will need to get creative.
Software:
- steak
- salt & pepper
Hardware:
- 8 qt. Stockpot
- Cast Iron Skillet
- Oven Thermometer accurate at a low temperature, preferably with an extended remote cable and external readout as seen in photos below.
- An additional cast iron skillet or pizza stone (placed in the oven to provide thermal mass)
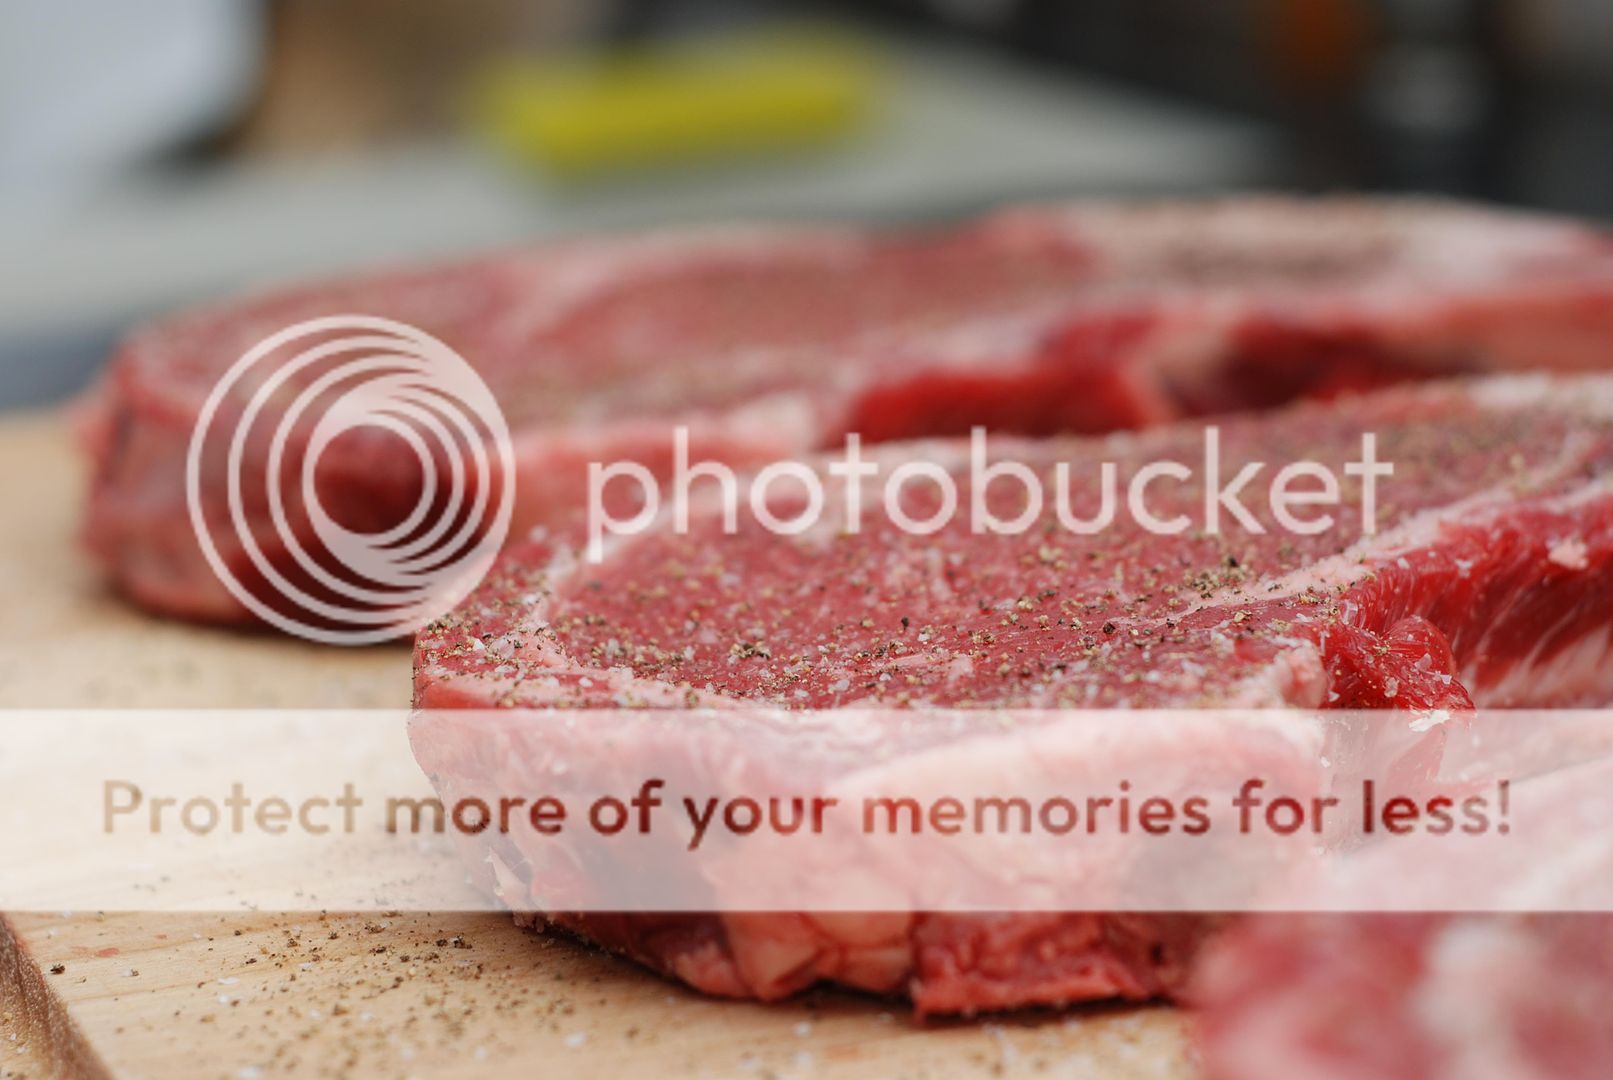
Step 1) Start by leaving the steaks out to come to room temperature. Go ahead and season them at this point and the rules are similar to grilling with the exception of olive oil. Don't use it, as olive oil will develop an odd taste if cooked at a low temperature for an extended period of time.
Step 2) Preheat your oven to your target temperature, in this case 125F. Thermal mass is your friend so including something heavy is a great idea. A pizza stone or a cast iron skillet would work just fine.
Step 3) Fill a large pot with hot water. More is better so fill it as much as you can and still leave room for the water to displace once the steaks are added. My tap water is 120F so heating this on the stove those last 4 degrees will quicken the process up considerably.

For no particular reason, a picture of meat.
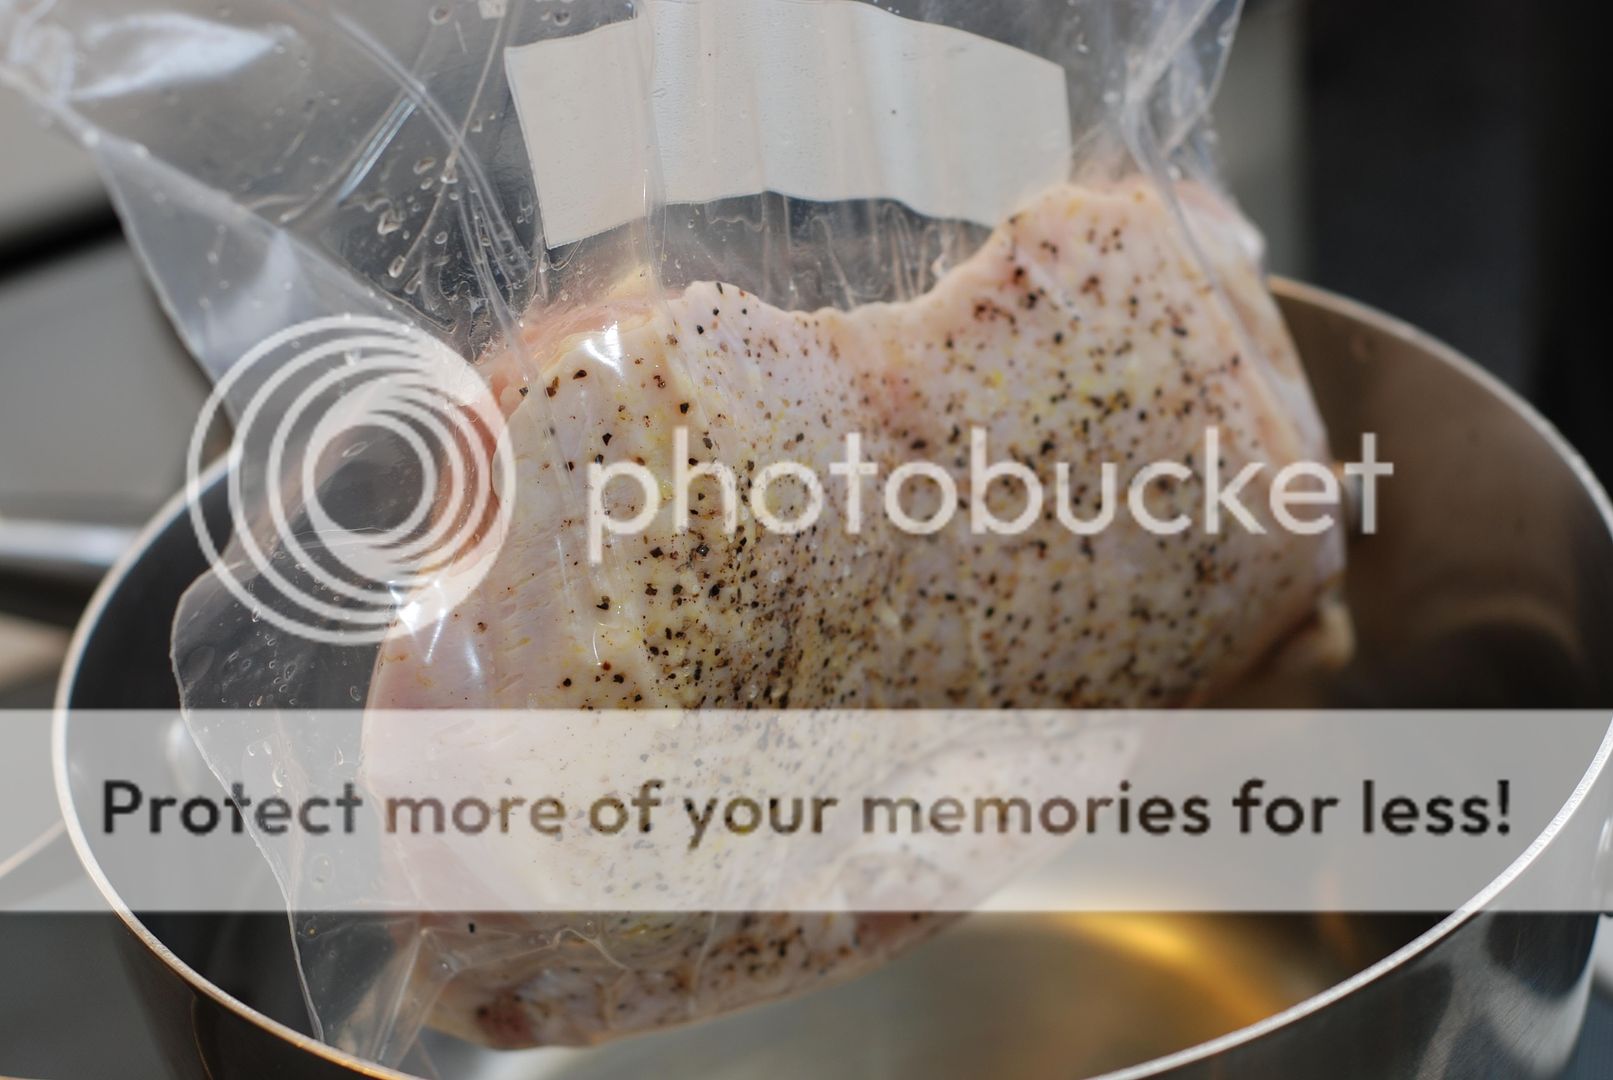
Step 4) So now that you have them seasoned grab your double ziploc freezer storage bags and put a steak into each one. Now it's time to get implement our ghetto vacuum technique by zipping the freezer bag all the way across and then unzipping a portion in the middle and then start to slowly lower the bag into the water. The idea is to let the water push all of the air out of the bag, like so:

When you get to the zipped part just zip that little bit that was unzipped and there you have it.

Do this for the rest of the steaks and cram them all into the pot. Since there is no air in the bags you shouldn't have a problem with them floating to the surface. If you do just put a ceramic mug on top of them to keep them submerged.
A commercial Sous-Vide machine will often have a water circulation function that is of course missing from this process. In a restaurant kitchen there is a need to constantly be placing new, cold bags of food into the machine to cook plates as ordered. Hence the need to circulate the water so that there is always hot water in contact with the protein and so that the temperature of the water is not fluctuating causing inconsistent cooking times. Since we are cooking a single meal here we will only be putting one meals worth of protein into the pot, thus we've no need for circulation.
Step 5) The water temperature will have dropped after the steaks are in the pot so leave them on the stove on a low heat to return the water to your target temperature. Mine dropped 15F once the steaks were dropped in. Once the water is back up to your target temperature throw the whole thing in the oven. The next step is much easier if you use a thermometer that has a remote display as previously shown. That way there is no need to open the oven door.
Note the pizza stone beneath the pot. The additional thermal mass will help to mitigate fluctuations in the temperature inside the oven. You can also use a large cast iron skillet or griddle with similar result.

Step 6) Now it's time to go drink beer and occasionally check on things to make sure you oven is doing its job and the temperature doesn't creep up on you. It should be very easy to moderate if it does since the large thermal mass will work in your favor. If the temperature gets more than 2F over your target simply turn off the oven and crack the door. When it gets back down turn it back on again. Easy, now go have another beer.
Step 7) After 2 hours get your cast iron pan nice and hot and prepare for some quick searing to give us the beloved complex blend of flavors that only the Maillard Reaction can give us.
Straight out of the bag they will look pretty unappetizing. Thoroughly cooked, but needs some work.

Remember, the cooking is done so we want to limit the time in the pan, no more than 1 minute per side and it is not necessary to do this at a nuclear high heat. Technically the Maillard Reaction happens somewhere around 310F, which on most stoves should be somewhere around a medium heat setting on a well pre-heated pan.
After 1 minute per side things start looking right:
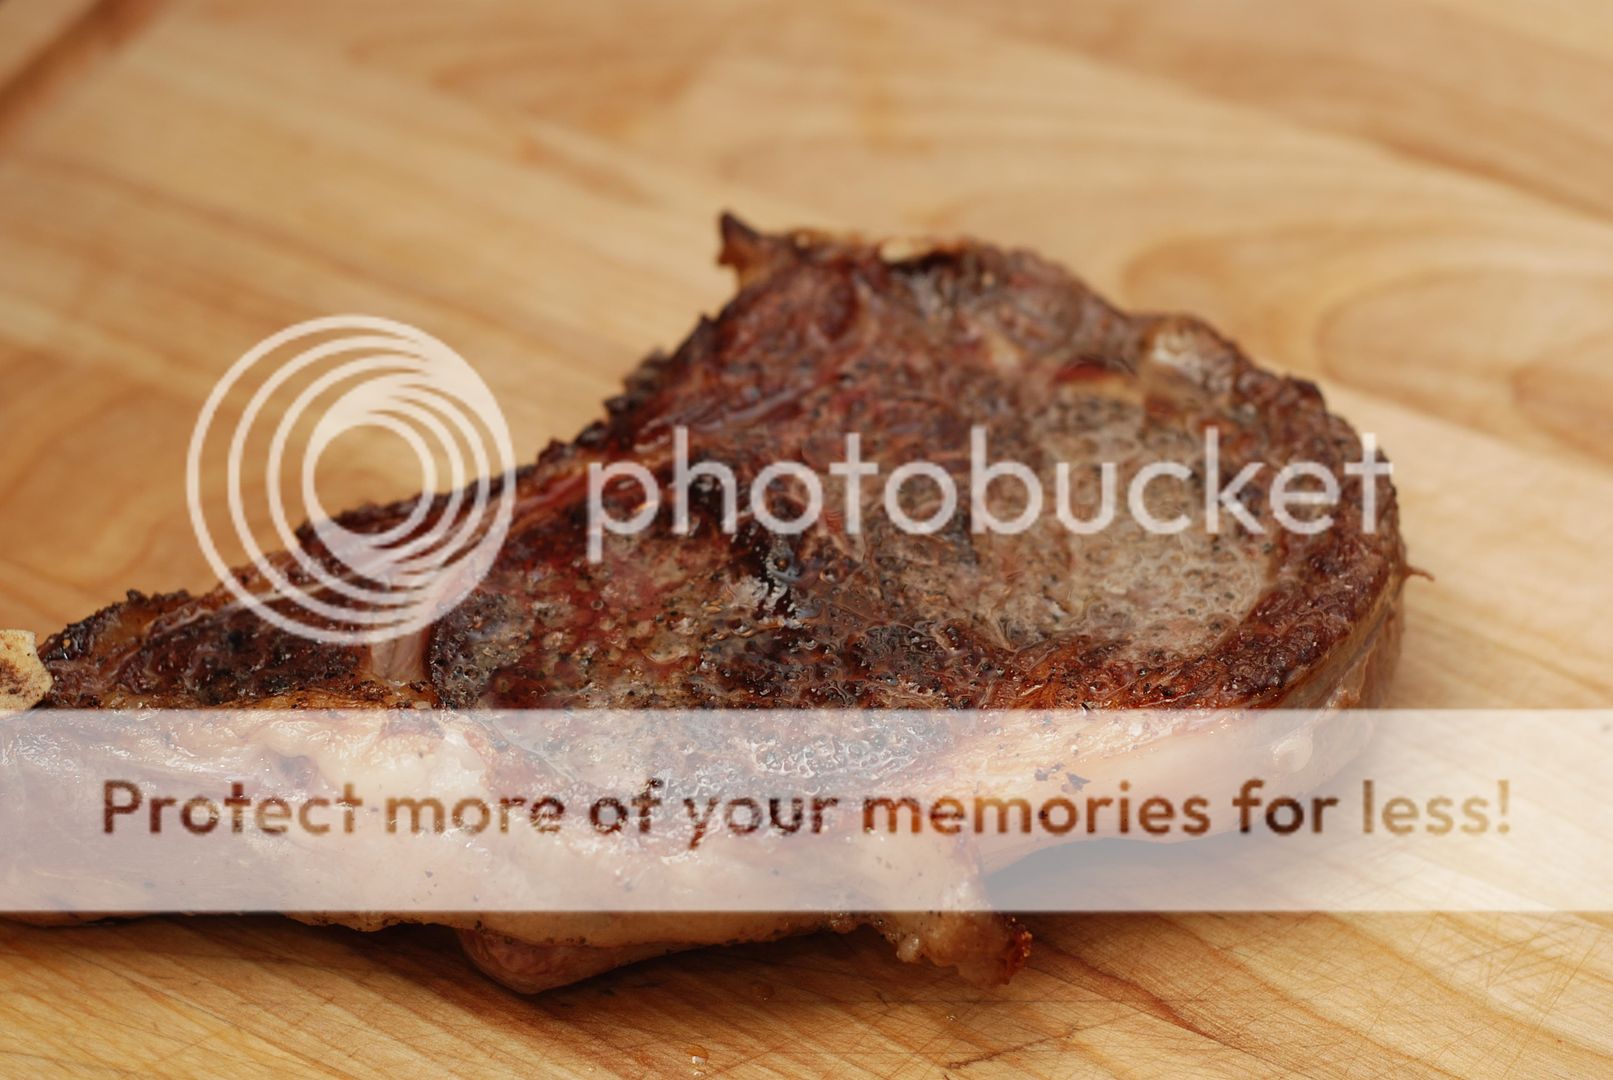
And this is what it's all about, a perfectly cooked steak from top to bottom with no gradient at all.

Meat lovers rejoice.
Applying the technique to a somewhat larger hunk of protein; in this case a pretty standard sized Bottom Round Roast.
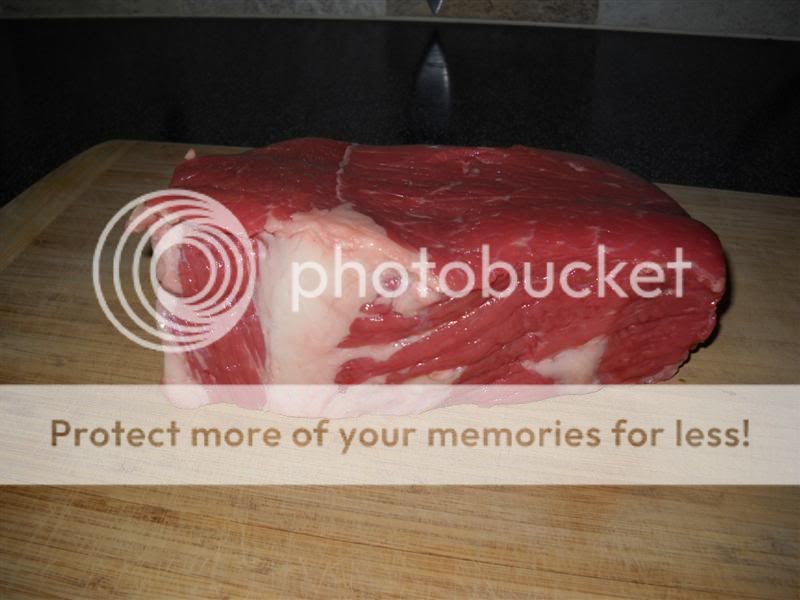
Steps 2-6) Same as above except you'll be cooking for 24hrs. The reason for the 24 hours was that given a rough cut of beef such as this, I wanted plenty of time for the collagen & proteins to break down. You can't overcook using this method so don't worry about it.
Step 7) As your 24th hour is nearing completion, pre-heat a cast iron skillet and remove the roast from the bag and give it a quick sear on all external surfaces and you should have something that looks a lot like this:

And upon carving the roast that isn't a roast at all, you'll see what what it was all about, perfectly cooked from edge to edge at exactly the level of done-ness you are looking for:
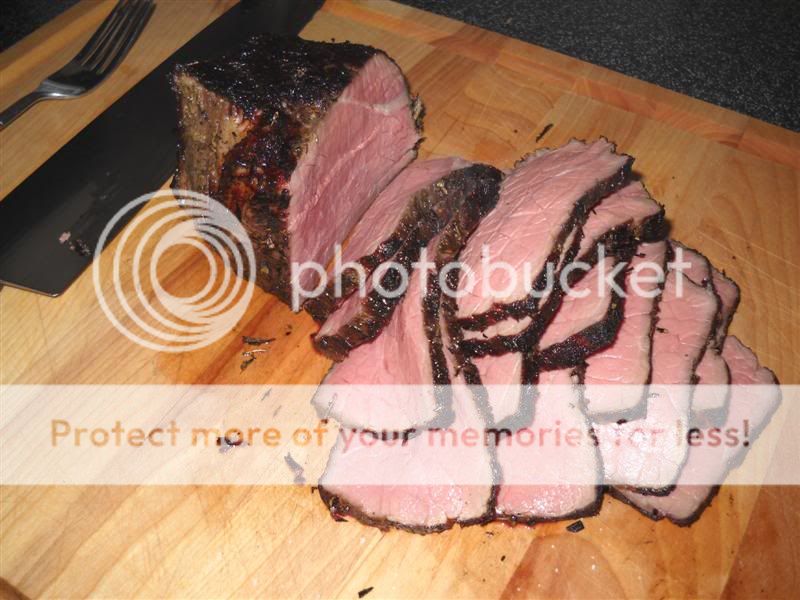
I paired it with a Porcini mushroom and onion risotto, and of course, a Bass Ale. The roast was as tender as I have ever had from this cut of beef, simply delightful.
First we'll start with the Food Safety and Inspection Service, which recommends a minimum of 165F for chicken: http://www.fsis.usda.gov/factsheets/chicken_food_safety_focus/index.asp
The next chapter in our Sous-Vide experiment is chicken. Wonderfully juicy, perfectly cooked poultry.
There are a few things we need to talk about first because as you read this there are alarms that are most likely going to start going off in your head. I'm talking about temperature, and the lifelong message that we have been told about being paranoid that chicken must be cooked to a certain temperature and never under any circumstances must you eat chicken that has not been cooked to the point of becoming a dry, dusty chunk o' flesh.
Forget what you've been told, or at least be prepared to extend your knowledge of what you've been taught with some science.
Why 165F? Because this is the temperature at which Salmonella is instantly killed.
The truth is, Salmonella will start to die off at a much lower temperature and if we maintain a certain temperature long enough we will achieve a 7.0log10 lethality of Salmonella. What is 7.0log10? In simple terms it would be a 70000000 fold decrease in the Salmonella bacteria count, a point at which the FSIS deems safe.
So, with a little help from a time and temperature chart we can cook our chicken at a much lower temperature and still be well within federally established safe limits. Here is the chart:

You will notice on the chart that this table is depends on fat content, in this case 7%. The FSIS publishes the full range of time & temperature charts and fat content here:
Our target temperature for the chicken will be 145F. Why I chose 145F because this is the 2nd time I have done this and the first was at 140F, and although it was indeed delicious it wasn't quite cooked enough for my particular taste so in order to get the mouth feel I was looking for I bumped it up 5F.
I cooked these for 2 hours as the breasts were rather large and I wanted to ensure I reached an internal temperature of 145F for at least the 10 minutes required. For your own safety please verify the temperature of the chicken when you take it out of the bag! After 2 hours I measured 145F and just to be safe let it cook for 10 more minutes to ensure I had achieved the correct temperature for the minimum amount of time.
I am using breast meat because 145F will not produce dark meat that you will be happy with! The first time I tried this I cooked legs and thighs as well and the results were inedible! Bone or boneless it doesn't matter.
Step 1) Preheat your oven to 145F and preheat the pot of water to 145F on your stove top.

Step 3) Put your chicken breasts in the bag and remove all of the air. I like to drop them into the water with the bag partially open at the top and let the water push the air out, but sucking out the air works just as well.
Place the bags into the water and leave them on the stove to bring them back up to temperature (145F). The temperature dropped about 4F and it is much quicker to do this on the stove than it is to pop it in the oven and wait.

Step 4) As with the meat and fish, a quick searing is going to be necessary.

The searing for the chicken took me longer than with the beef. I wasn't worried about overcooking because the skin on the chicken is a great insulator and these were much thicker than the steaks.

We served this over a bed of asparagus and asiago cheese orzo. As you can see even at 145F the chicken is completely cooked, completely white with no pink at all.

Switching here from Sean's submission to my own experiment with the technique....boy, my photos are lame.
I wanted to try the Sean's home-engineered sous vide technique on a more delicate protein so I selected a nice swordfish fillet to give it a try. I spent some time researching techniques for cooking fish via sous vide and found that the temperature required is quite different and the time required is significantly lower as well. It seems that the most common temp/time is ~132deg for ~10-20min. Again, you can't "overcook" using this technique, but since fish has a lot less collagen and connective tissue than a piece of beef of the same weight you could potentially have so much of a breakdown of those that the texture will be negatively impacted. Essentially, if you leave it in too long the texture of the flesh could get quite mushy and unpleasant. So to retain appropriate firmness keep your cooking time to no more than 20min for a portion of fish of this size. If you are working with something more substantial like maybe a halibut you might be need to keep it in a little longer. Let us know if what you find. At any rate here is how I worked through the swordfish.
Step 1) Preheat oven to 132 degrees and preheat your pot of water to 132 on your stove top. I had to fiddle with my oven a bit. Setting mine at 135 put me dead on at 132 after the pizza stone came up to temp.
Step 2) Prepare your portions of fish. I used a bit of kosher salt, pepper, a small pat of butter, a sprig each of dill and tarragon and a slice of lemon. Popped the various bits and pieces into the bag and sucked most of the air out of the bag.
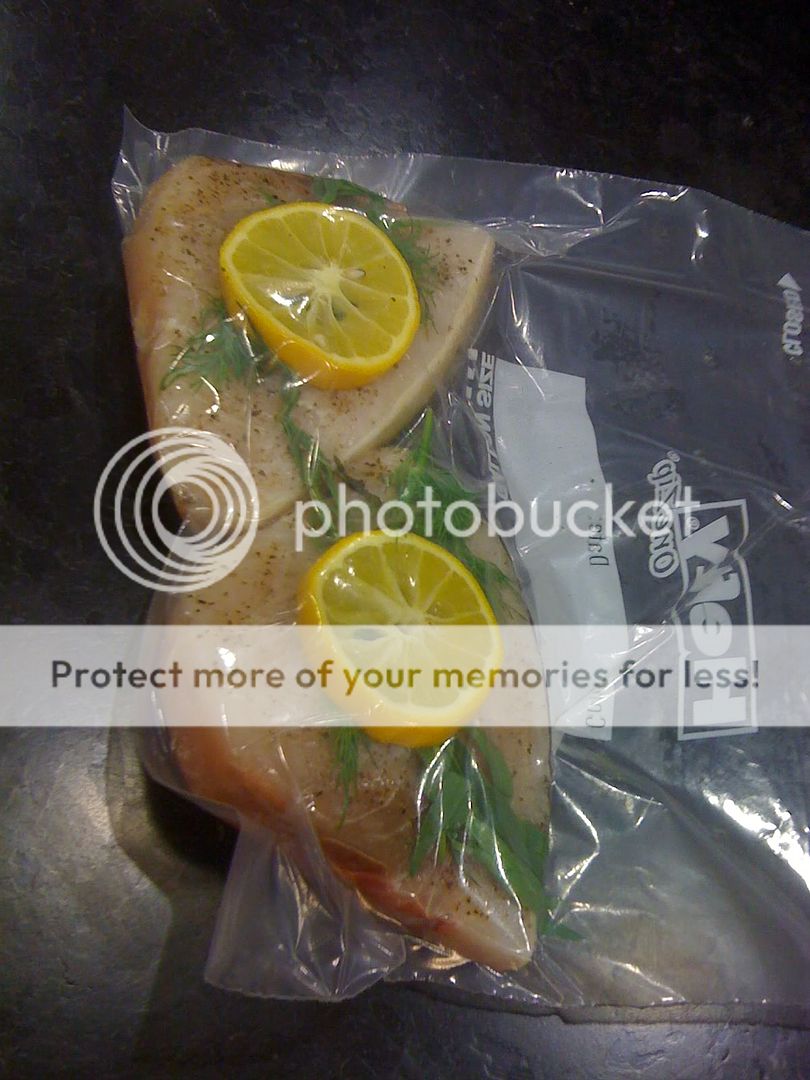
Steps 3-6) Same as above except you'll be cooking for just 20min or so at 132deg.

Step 7) Upon removing the fish from the bag you will not be met with a super appetizing item. It's fully cooked at this point. You could eat it, and it would taste fine, but the external texture would be a little odd and it certainly doesn't look that great.

Step 8) To enhance the appearance a bit and to improve the texture I gave the swordfish portions a very quick sear on the stove top with a tiny bit of butter in the pan. This should be VERY quick. We aren't doing any additional cooking, just applying a little color and searing on the outside. 1min per side, tops. Looking a lot better at this point eh?

...and that's about it. I garnished the swordfish with a few bits of fresh dill and served it with some coarsely mashed Yukon Gold potatoes (put a bit of garlic and basil in the boil) and sauteed julienne zucchini and carrots and paired it with a 2007 Grgich Hills Chardonnay.

Honestly, it's not the best I've ever had, but that is given to my seasoning. I used a bit too much pepper and I could have left out the lemon. But as far as the texture and flavor of the fish itself it might be the best fish I've ever cooked. It was uniformly tender, w/o being the slightest bit mushy as is sometimes the case with a poached fish and the flesh itself was sweet and delicious w/o being the least bit "fishy".

We haven't broken any new ground here. But what we've done is shown that a home cook can duplicate ultra-high end restaurant cooking techniques in the home with similar result and do so w/o spending an exorbitant amount of money on another counter space sucking appliance. Not bad for a couple of guys who are more at home inflating a Michelin race tire than in a Michelin stared restaurant.
I think we may continue to update this as we experiment with other proteins. So check back periodically to see if there is something new, and if you'd like to make a submission of your own experiment with the technique or offer something entirely new to the blog let me know.
Step 8) To enhance the appearance a bit and to improve the texture I gave the swordfish portions a very quick sear on the stove top with a tiny bit of butter in the pan. This should be VERY quick. We aren't doing any additional cooking, just applying a little color and searing on the outside. 1min per side, tops. Looking a lot better at this point eh?
...and that's about it. I garnished the swordfish with a few bits of fresh dill and served it with some coarsely mashed Yukon Gold potatoes (put a bit of garlic and basil in the boil) and sauteed julienne zucchini and carrots and paired it with a 2007 Grgich Hills Chardonnay.
Honestly, it's not the best I've ever had, but that is given to my seasoning. I used a bit too much pepper and I could have left out the lemon. But as far as the texture and flavor of the fish itself it might be the best fish I've ever cooked. It was uniformly tender, w/o being the slightest bit mushy as is sometimes the case with a poached fish and the flesh itself was sweet and delicious w/o being the least bit "fishy".
We haven't broken any new ground here. But what we've done is shown that a home cook can duplicate ultra-high end restaurant cooking techniques in the home with similar result and do so w/o spending an exorbitant amount of money on another counter space sucking appliance. Not bad for a couple of guys who are more at home inflating a Michelin race tire than in a Michelin stared restaurant.
I think we may continue to update this as we experiment with other proteins. So check back periodically to see if there is something new, and if you'd like to make a submission of your own experiment with the technique or offer something entirely new to the blog let me know.
Tried a stockpot and reasonably decent laboratory hot plate tonight in lieu of using an oven. Worked fine, if anybody wishes to try it as an alternate method. Thermostat in my gas oven is a bit erratic compared to the hotplate, so I was able to mostly keep things nailed at the temperature I wanted or a bit below with less spikes than the oven was giving.
ReplyDeleteThought that might be of interest to y'all.
Thanks for all your tips. It's a nice way to cook.
I finished the steak tonight over coals instead of using a skillet. Quick sear with an added taste of smoke.
Bon Appetit!
Looks like it worked well!
ReplyDeleteSerious Eats had a nice post about cooking sous vide in a beer cooler: http://bit.ly/h1tYhl
And if you're curious about more sous vide info we have a getting started guide on our website with some other less expensive ways to try it at home and some more info about the saftey and equipment.
http://bit.ly/e8MvOu
Looking forward to see what else you come up with!